DIY Projects - Live Edge Wood Coasters
Want a cool DIY project that finally puts a good use to all those off cuts you have been saving for no reason? Well I’ve got you taken care of. As long as your chunk of wood is bigger than 4x4” and at least 3/4” thick, I can show you a quick and easy way to turn that firewood into actual cash.
Tools/materials required
Your favorite wood finish Osmo, Odies, Arm R Seal are good ones
Tools/materials suggested
Crosscut sled
Getting Started
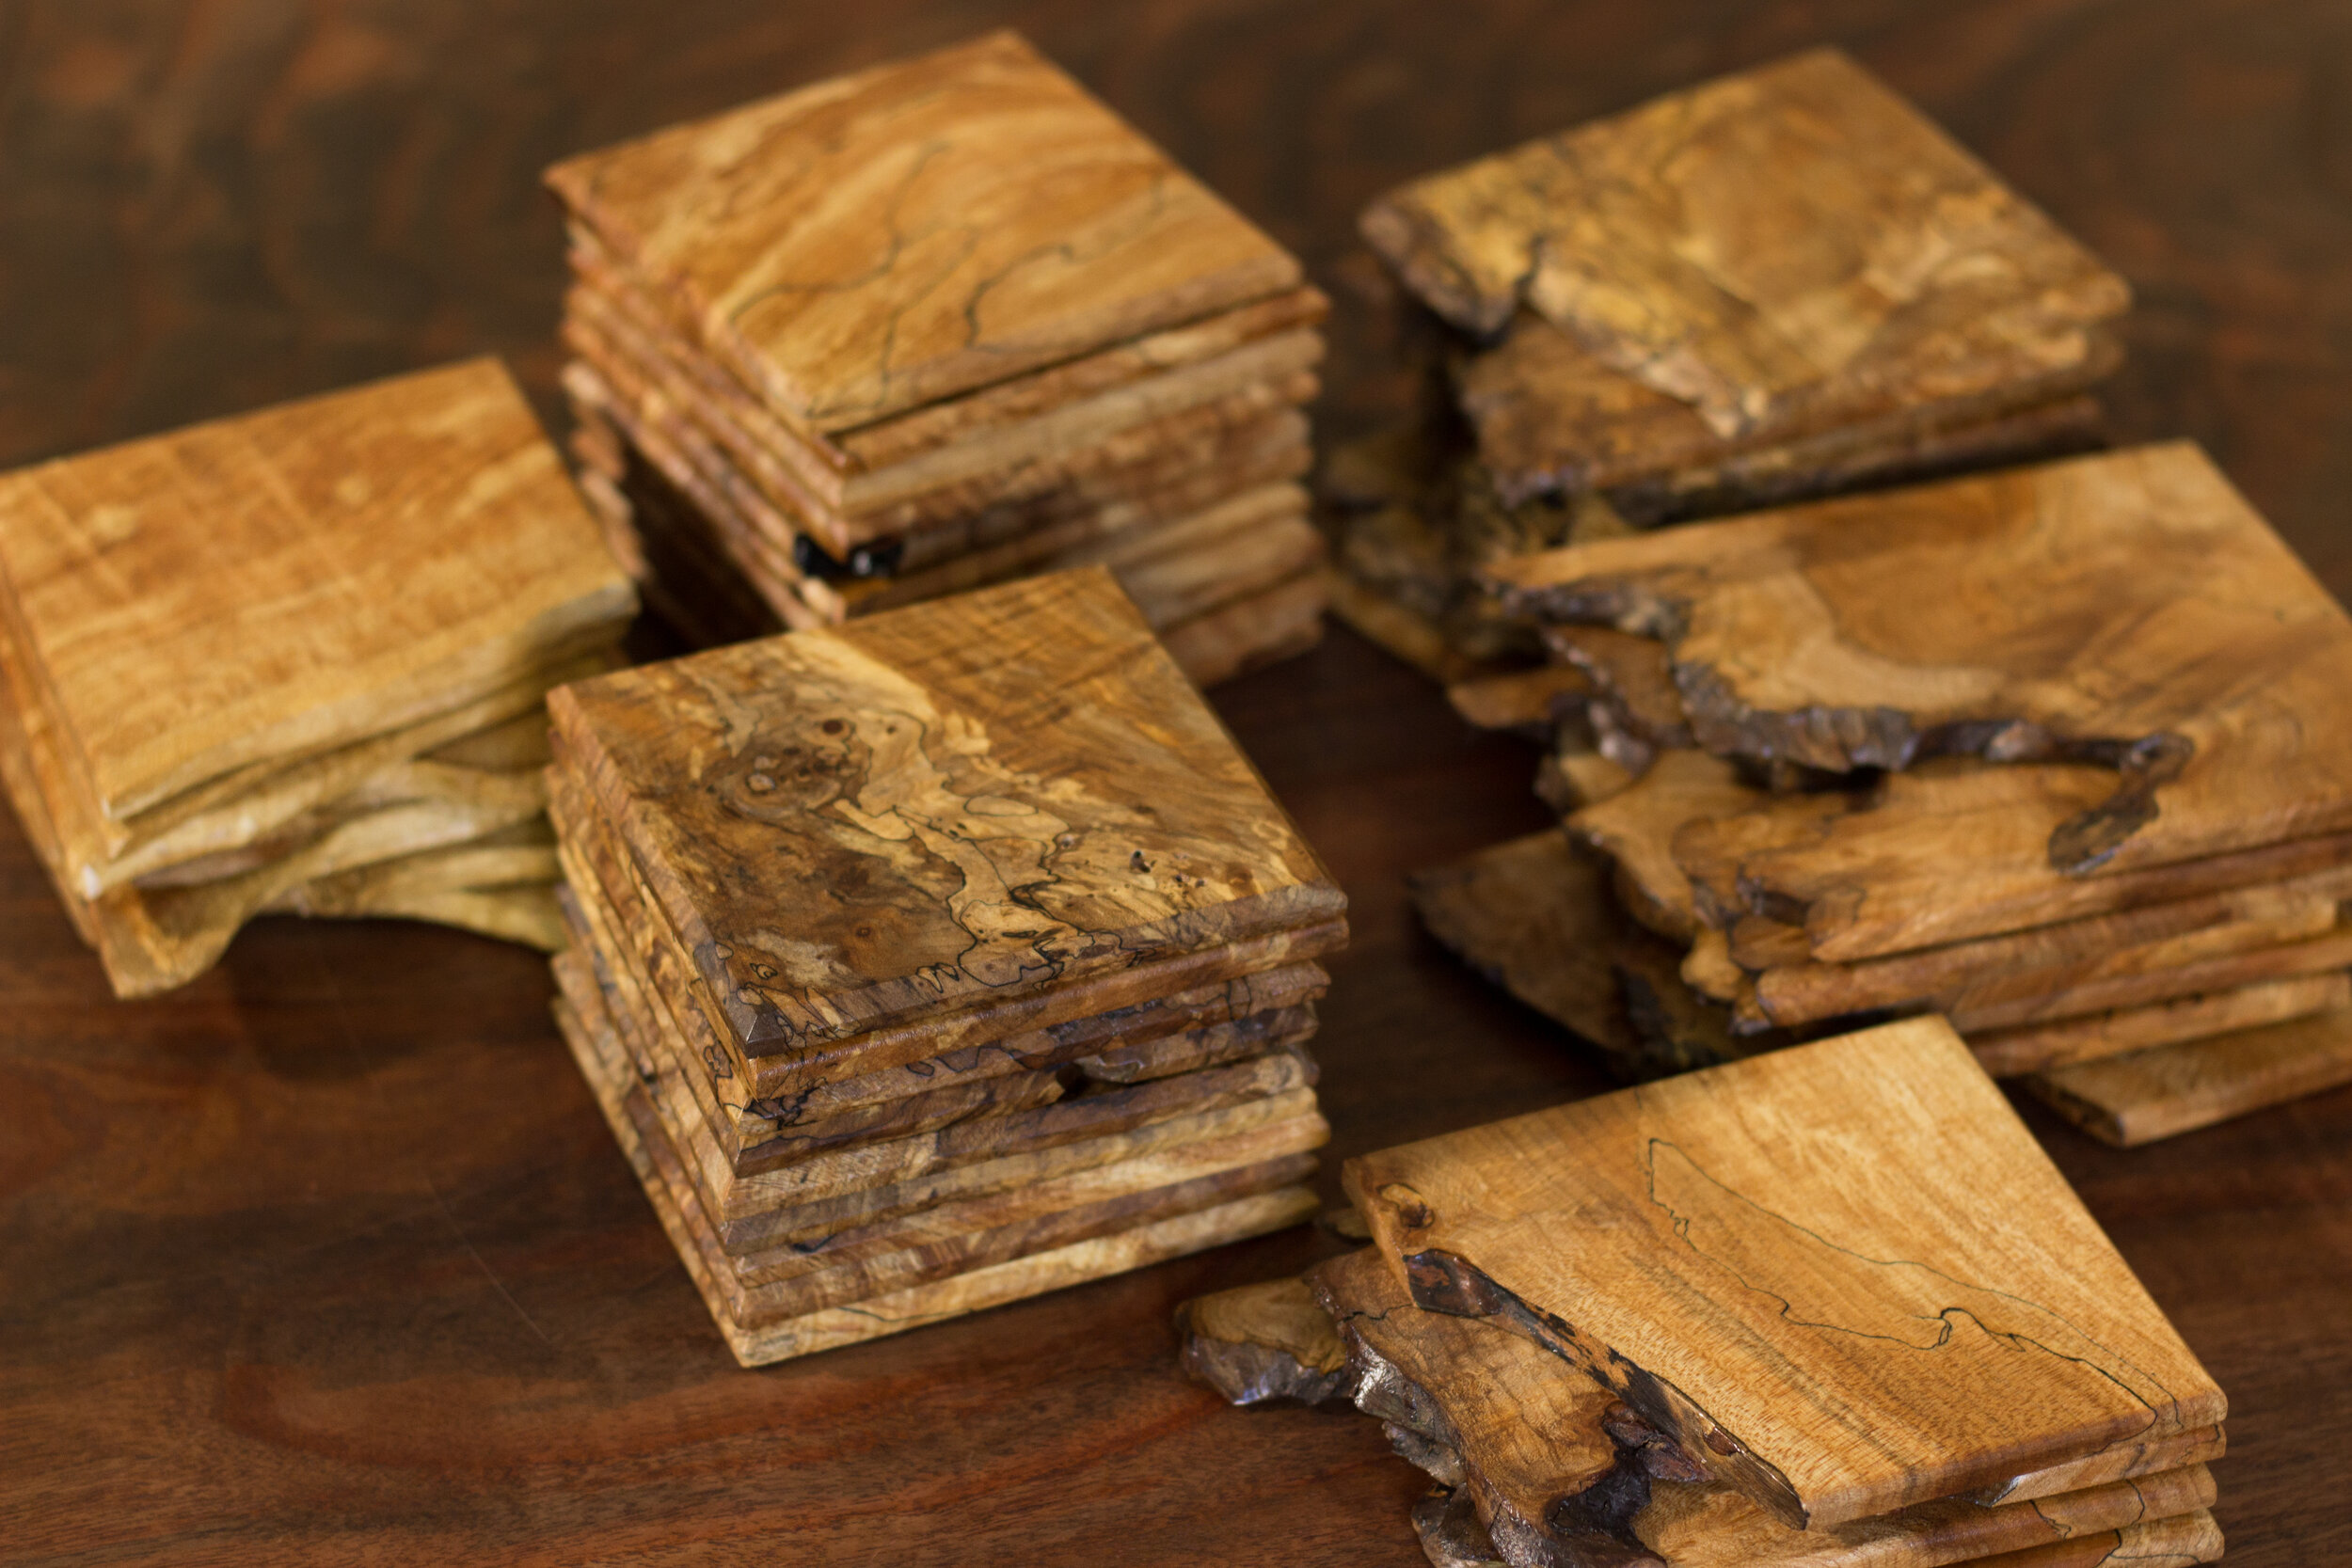
Really cool piece of spalted maple
The first thing you are going to need is a chunk, or several chunks of wood. I usually make my coasters from my off-cuts from tables or other larger projects. These pieces are often beautiful pieces of wood that don’t cost anything. If you are just getting started and don’t have a pile of beautiful off cuts, no problem. You can check out your local wood supplier, with any luck they have a “shorts bin” with all their off cuts. They are often super cheap pieces of scrap that they are just happy to get out of the shop without burning them. Goby Walnut in Portland has a great selection of shorts.
Step one

Try not to cut yourself here. Push stick>fingers
The first thing you want to do is fillet some strips off your wood chunk. My magic number is setting my bandsaw fence to 8mm. 8mm is a number I have found to be perfect. It allows for some sanding, but not too much. Ending with a perfectly proportioned thin coaster when you’re done. I opt to keep the fillets as large as possible at this point. My bandsaw can cut up to 13”, which is great. If your bandsaw can only cut five or six inches, that is totally fine. I also try and keep the pieces relatively long if possible, within reason. So I will generally end up with pieces of wood 12” tall, 14” long, and 8mm thin by the time I’m done with my bandsaw.
Step two

This step is optional, depending on if you have a drum sander or not. Don’t worry if you don’t have a drum sander, you can spend some extra time time with the orbital. The drum sander is nice though. It ensures everything is a perfectly consistent thickness.
All you need to do is make a couple passes with the drum sander until you don’t see any more bandsaw marks. Be sure to not get too aggressive here. Just remove the minimum amount of material. I generally make these passes with 120 grit paper on my supermax 19/38.
Step three

Festool vacuum clamp is worth its weight in gold. Also, costs its weight in gold.
I’ve learned this step the hard way. Try and do most of your sanding while you have big pieces of wood. Much much easier than sanding the smaller, individual coasters. So take your wood fillets over to your sanding station. A good piece of rubber makes a nice surface to work on. Although… if you want to make your woodworking world a better place, AND you have $1400 that you aren’t particularly attached to. The Festool vacuum clamp is maybe my favorite frivolous tool purchase. They really earn their keep with smaller pieces like this.

Start at 100 grit with your orbital sander. Go through grits 100, 120, 150, and 180 here. After you finish with 180, set the sander aside for a little bit.
Step four

Table saw crosscut sled
Now you are ready to cut your pieces to their final size. I personally like a nice 4x4” coaster. If you opt to leave a live edge, I recommend keeping the small portion of the coaster to 4” and let the edge taper out to 4.5” or so.
The best tool for this job is a table saw and a homemade crosscut sled. Crosscut sleds are awesome because they deliver absolute precision, and only cost a couple dollars to make. There are lots of Youtube videos on making a DIY sled, so I won’t bore you with making my own. I will include a link here to a good one though. If you don’t have a table saw or crosscut sled, you can still make these cuts with your bandsaw. A bandsaw crosscut sled is also very useful!
Whether you are using your bandsaw or tablesaw sled, the process is the same. Set up a stop block at the 4” mark. This allows for quick, repeatable, and very accurate cuts. First make a cut away from your stop block. Just to give a good straight edge to start with. Now slide your piece over and butt your freshly cut edge to your stop block. Now cut your 4” piece. If you want a square coaster, rotate 90 degrees, press against your block, and cut again. Now you have a perfectly square piece! Repeat this process for your whole batch.
Step five
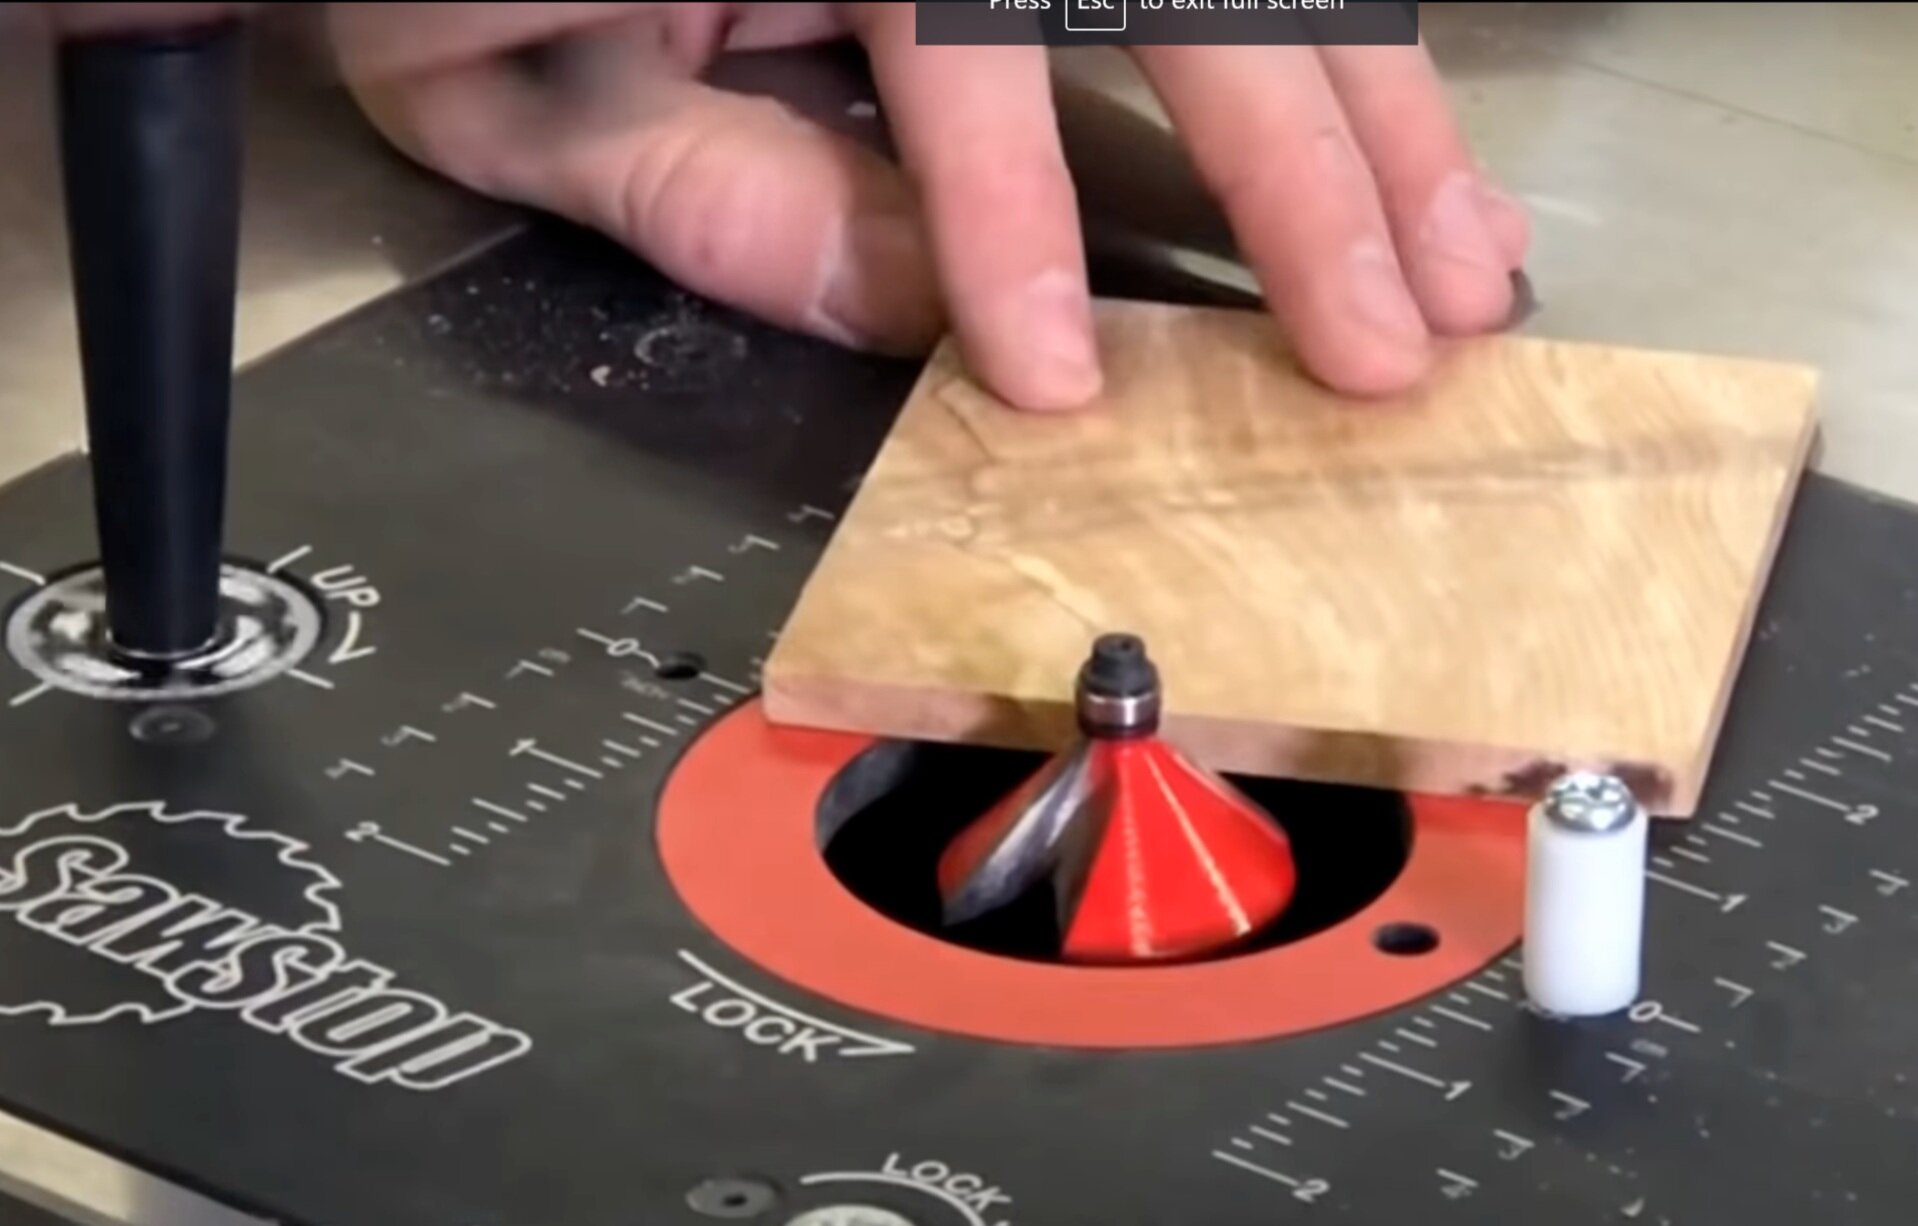
Now you get to decide what kind of edge you’d like. A nice 1/8” roundover bit gives a good finished edge. A 45 degree chamfer bit delivers a little more interesting edge though. If you don’t have a router or router table, you can opt to just hand sand your edges. Hand sanding isn’t quite as finished looking as a routered edge, but perfectly acceptable.
Step six
Even though you got your tops sanded nicely to 180 grit, your sides have those saw and router marks. So we need to clean those up edges up now. I start with 150 paper and just hand sand the edges to begin with. After that… I got a good trick for you. Take your orbital, and if you have a big vise, lightly clamp it in there upside down. I should also mention, that you can do the same thing with a router in the previous step if you don’t have a router table. Make no mistake, I’m certainly not the first person to clamp a sander or router in a vise. But I’m happy to pass the tip along to you.
Once your sander is LIGHTLY clamped in place, you can turn it on and bring your small piece of wood to the sander. Instead of the large sander to the small piece of wood. Using the 180 grit, slowly sand your edges and any imperfections left. Again, repeat for the whole batch.
Step seven
Now you have a batch raw wood coasters ready for finish! There are lots of different ways you can finish these. If you have a go-to finish. Feel free to use that now. For this last batch I made I used Arm R Seal (ARS). Although I’ve used Osmo, Rubio, and other finishes with success in the past as well.
Wipe or brush on your first coat of ARS and allow it to soak in and dry overnight. Sand lightly with 320 grit paper to remove any dust nibs. Then wipe on a second thin coat with a dust free rag, wiping off excess. Generally three coats are necessary to completely seal the wood. After your last coat, you can buff lightly with 0000 steel wool and a little soapy water. This will give it a nice satin sheen with no dust nibs.
Last step!

This step is optional, but I like to add some cork feet to my coasters. I bought a roll with 10 million cork dots (at least it seems like that many), and it has lasted me for years. Give your finish a week or so to cure, then just press a cork dot into each corner. That’s it.
Uh, thanks… But what do I do with 100 coasters now?
Fair question. I generally save up my coaster batches for Mothers Day and Christmas time. Around then I usually don’t have too hard of a time selling them on my website or Etsy. I price mine at $10 each and sell in sets of four ($40) or six ($60). My wife told me coasters MUST be sold in even numbers. Despite not having an answer for my comment “We don’t only have an even numbers of friends.” Anyway, she’s usually right. So sell even numbers. They are also a really cool present to give a client a set of coasters that match a table you just made them.