Fire Epoxy Table
The Epoxy Fire-Table Backstory
A year or so ago I saw a post on Reddit where a guy had sealed a small burned piece of wood with epoxy and it looked super cool. I mimicked what he had done in a small proof of concept a couple months ago with some drink coasters. I even made a video on the process if you’re interested (click here). The coaster build went pretty well so I decided to see if I could scale the project up to a coffee table size. Turns out I can, and its pretty cool. In the middle of the build I posted a progress pic on Instagram and one of my followers commented “Everyone else is making river tables and this guy is make fire tables like it aint sh*!” It got a good laugh out of me, so I thought the least I could do was name the build after his comment.
The wood
Pretty unremarkable silver maple slab
Since this was basically another proof of concept piece I didn’t want to spend a lot of money. I had an old silver maple slab sitting around that I bought over in Eastern Oregon probably five years ago for $20. The wood had a little crotch figure, but other than that was pretty bland. A perfect piece to burn as far as I could see.
Burning the slab
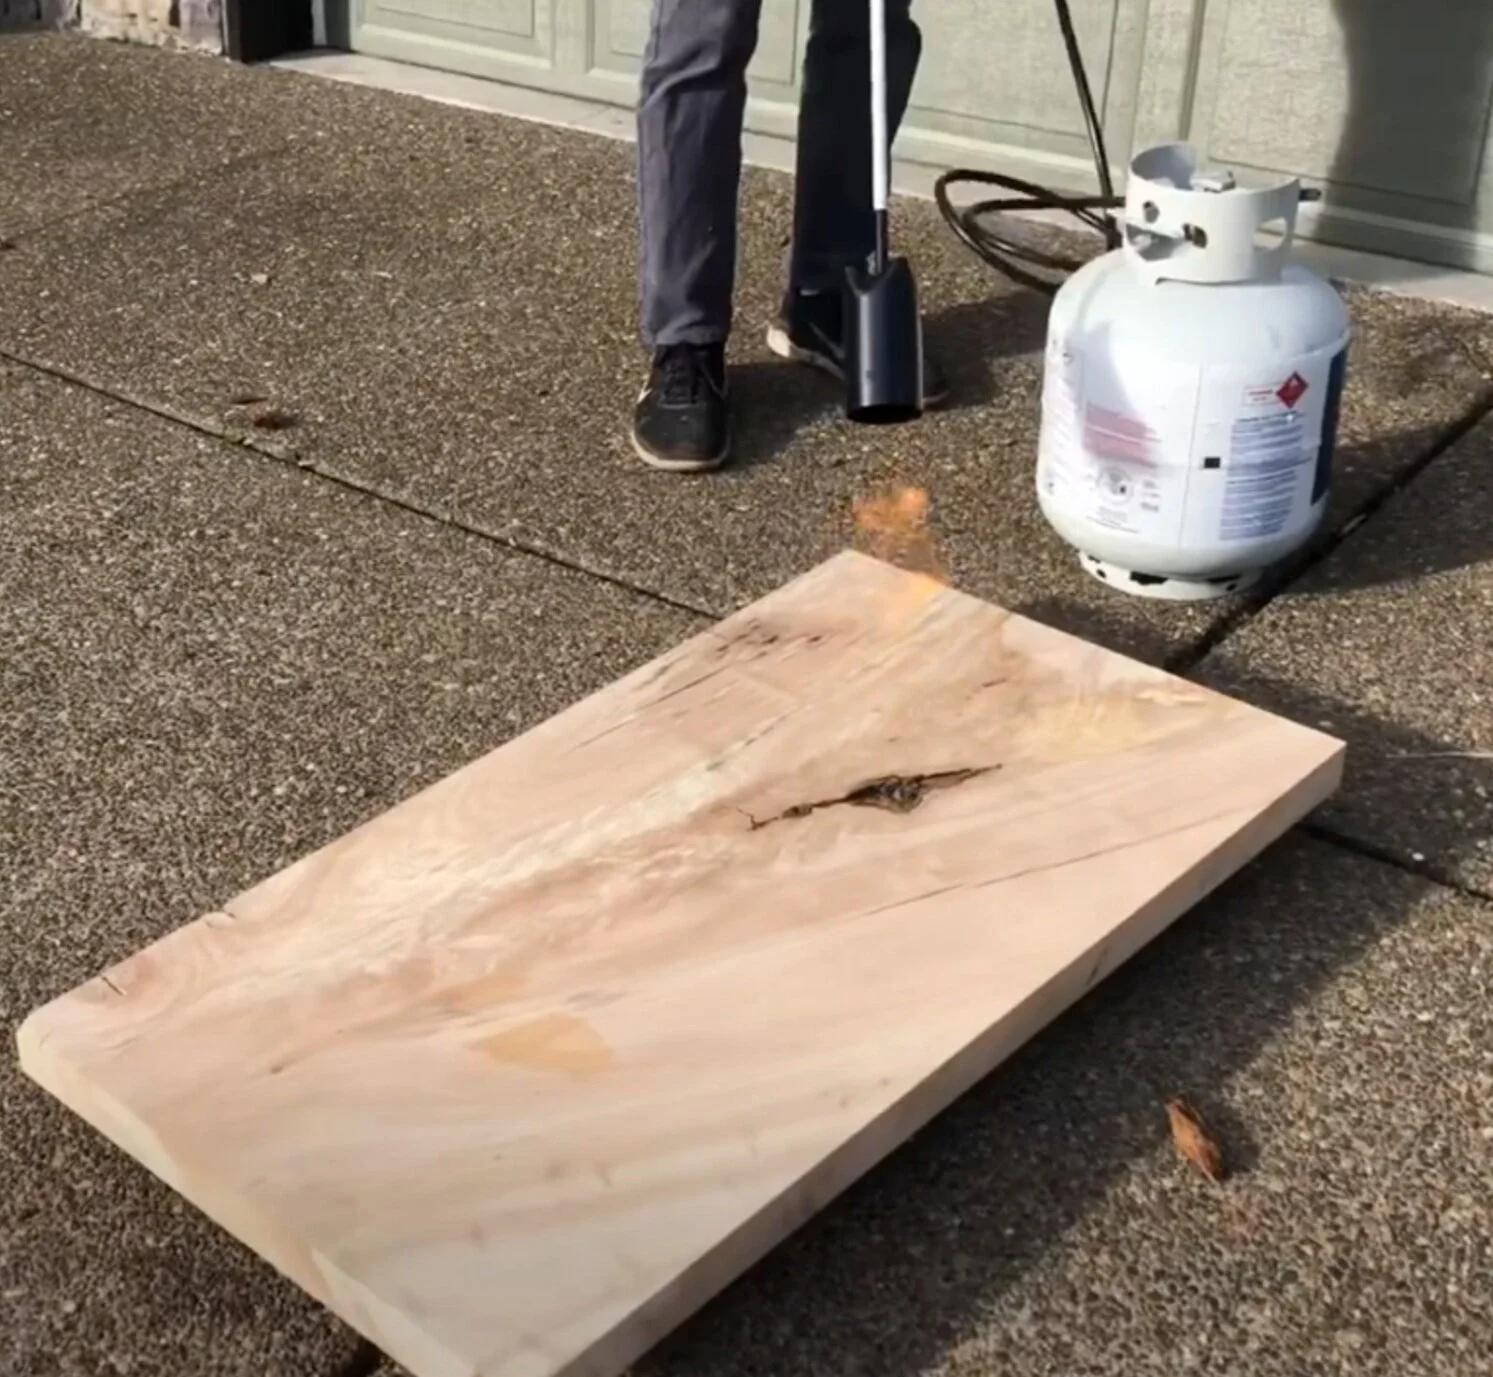
I would say there is no wrong way to burn a slab, so long as you do it safely. But there is definitely an easiest way. Since you will need to burn certain areas more than other areas to minimize cupping, I recommend using something with a little more control than just soaking it in lighter fluid. I bought a weed burner off Amazon for around $40 and hooked it up to an old propane tank. It puts out a pretty substantial flame and is very controllable. So I would highly recommend using this one if you decide to tackle your own fire table.
Weed torch made quick work of the slab.
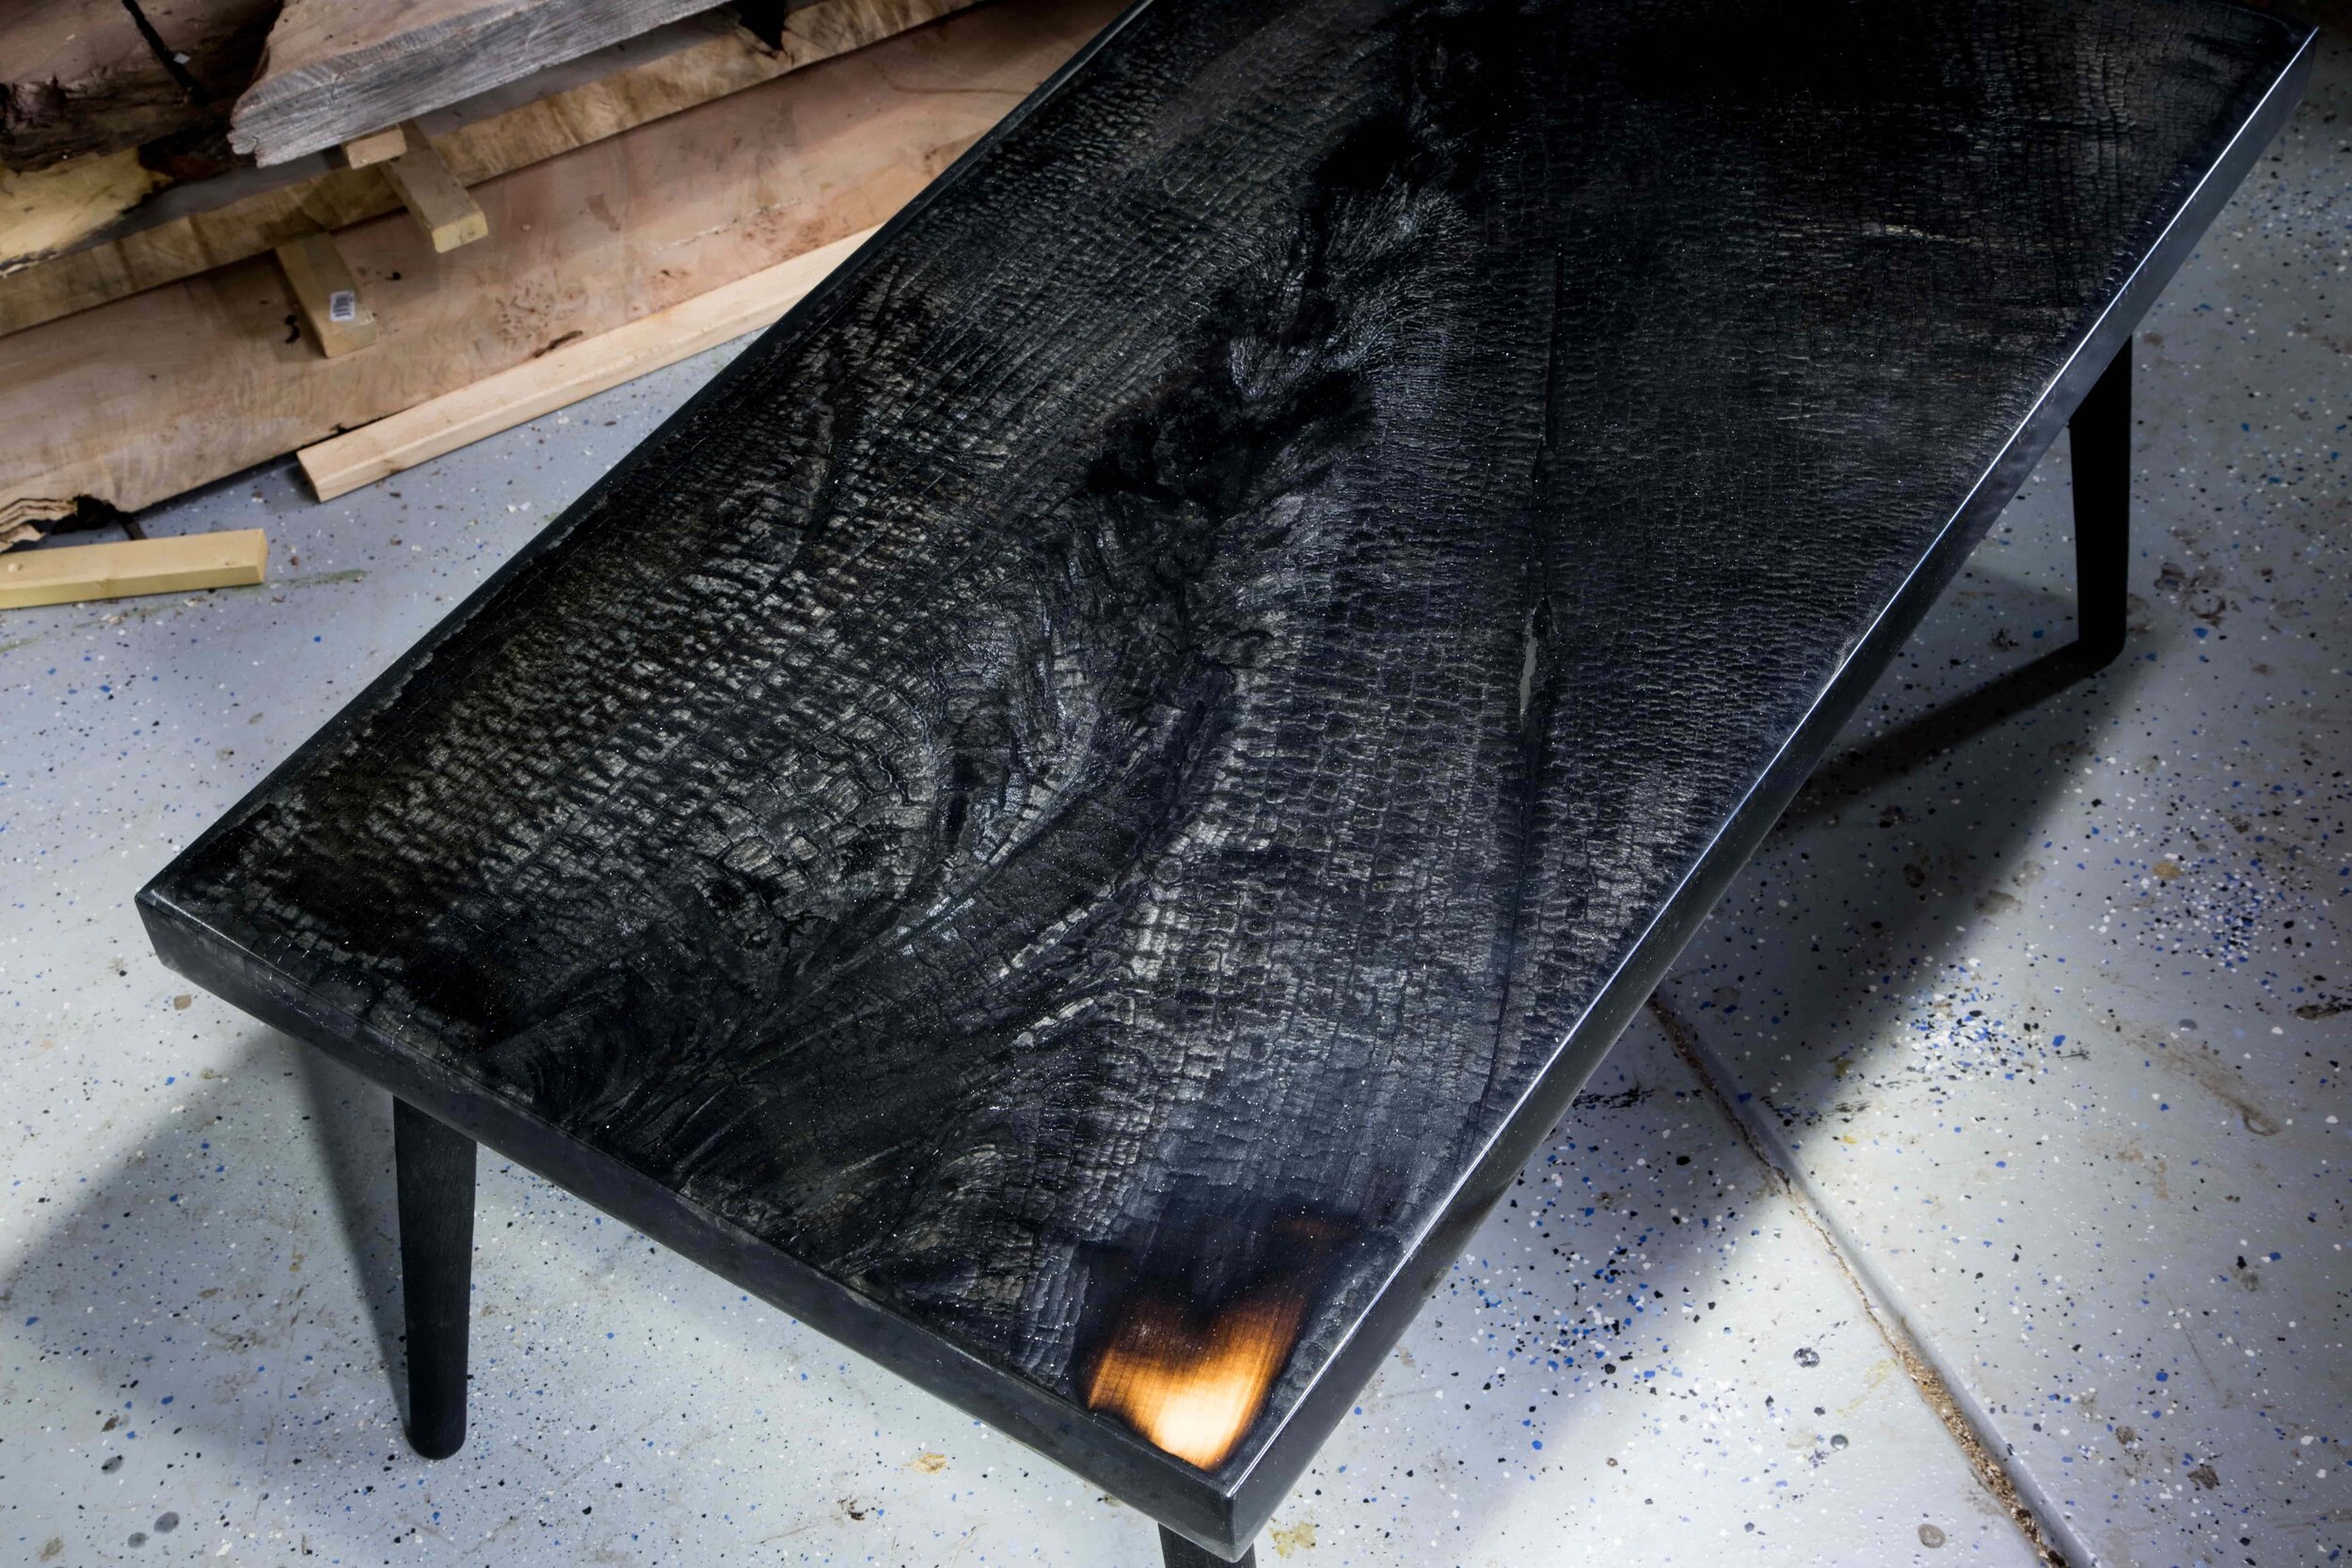
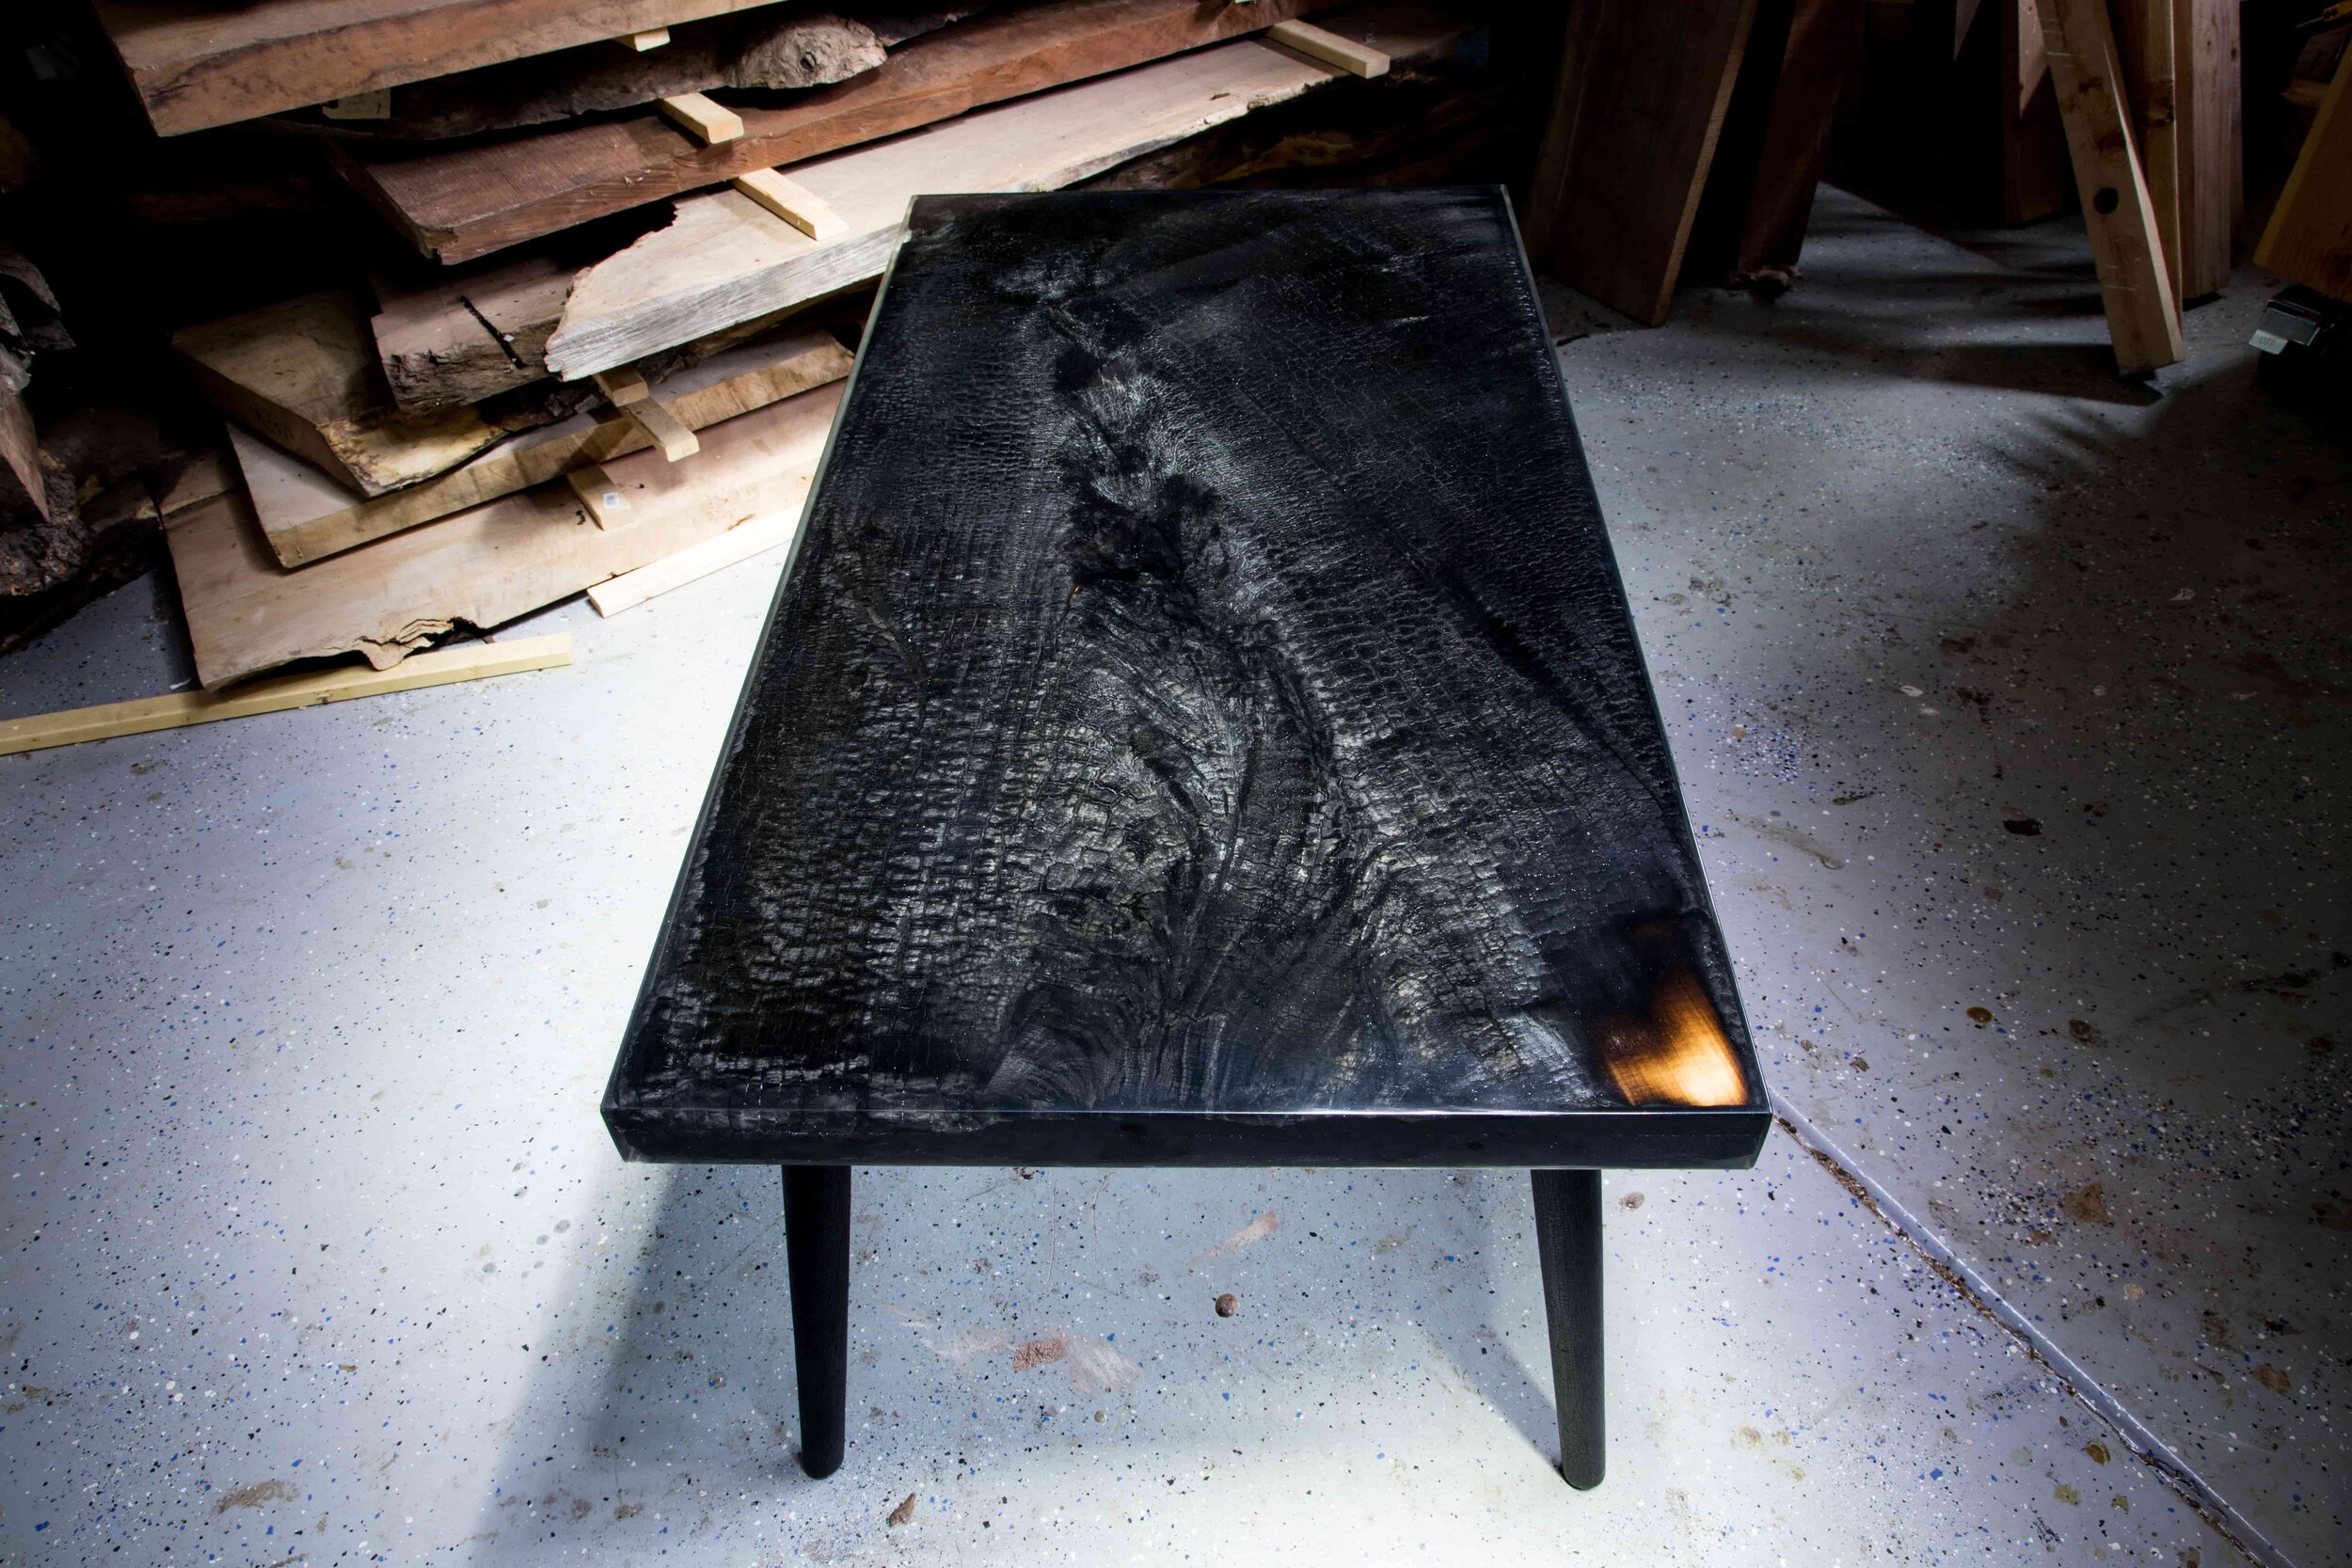
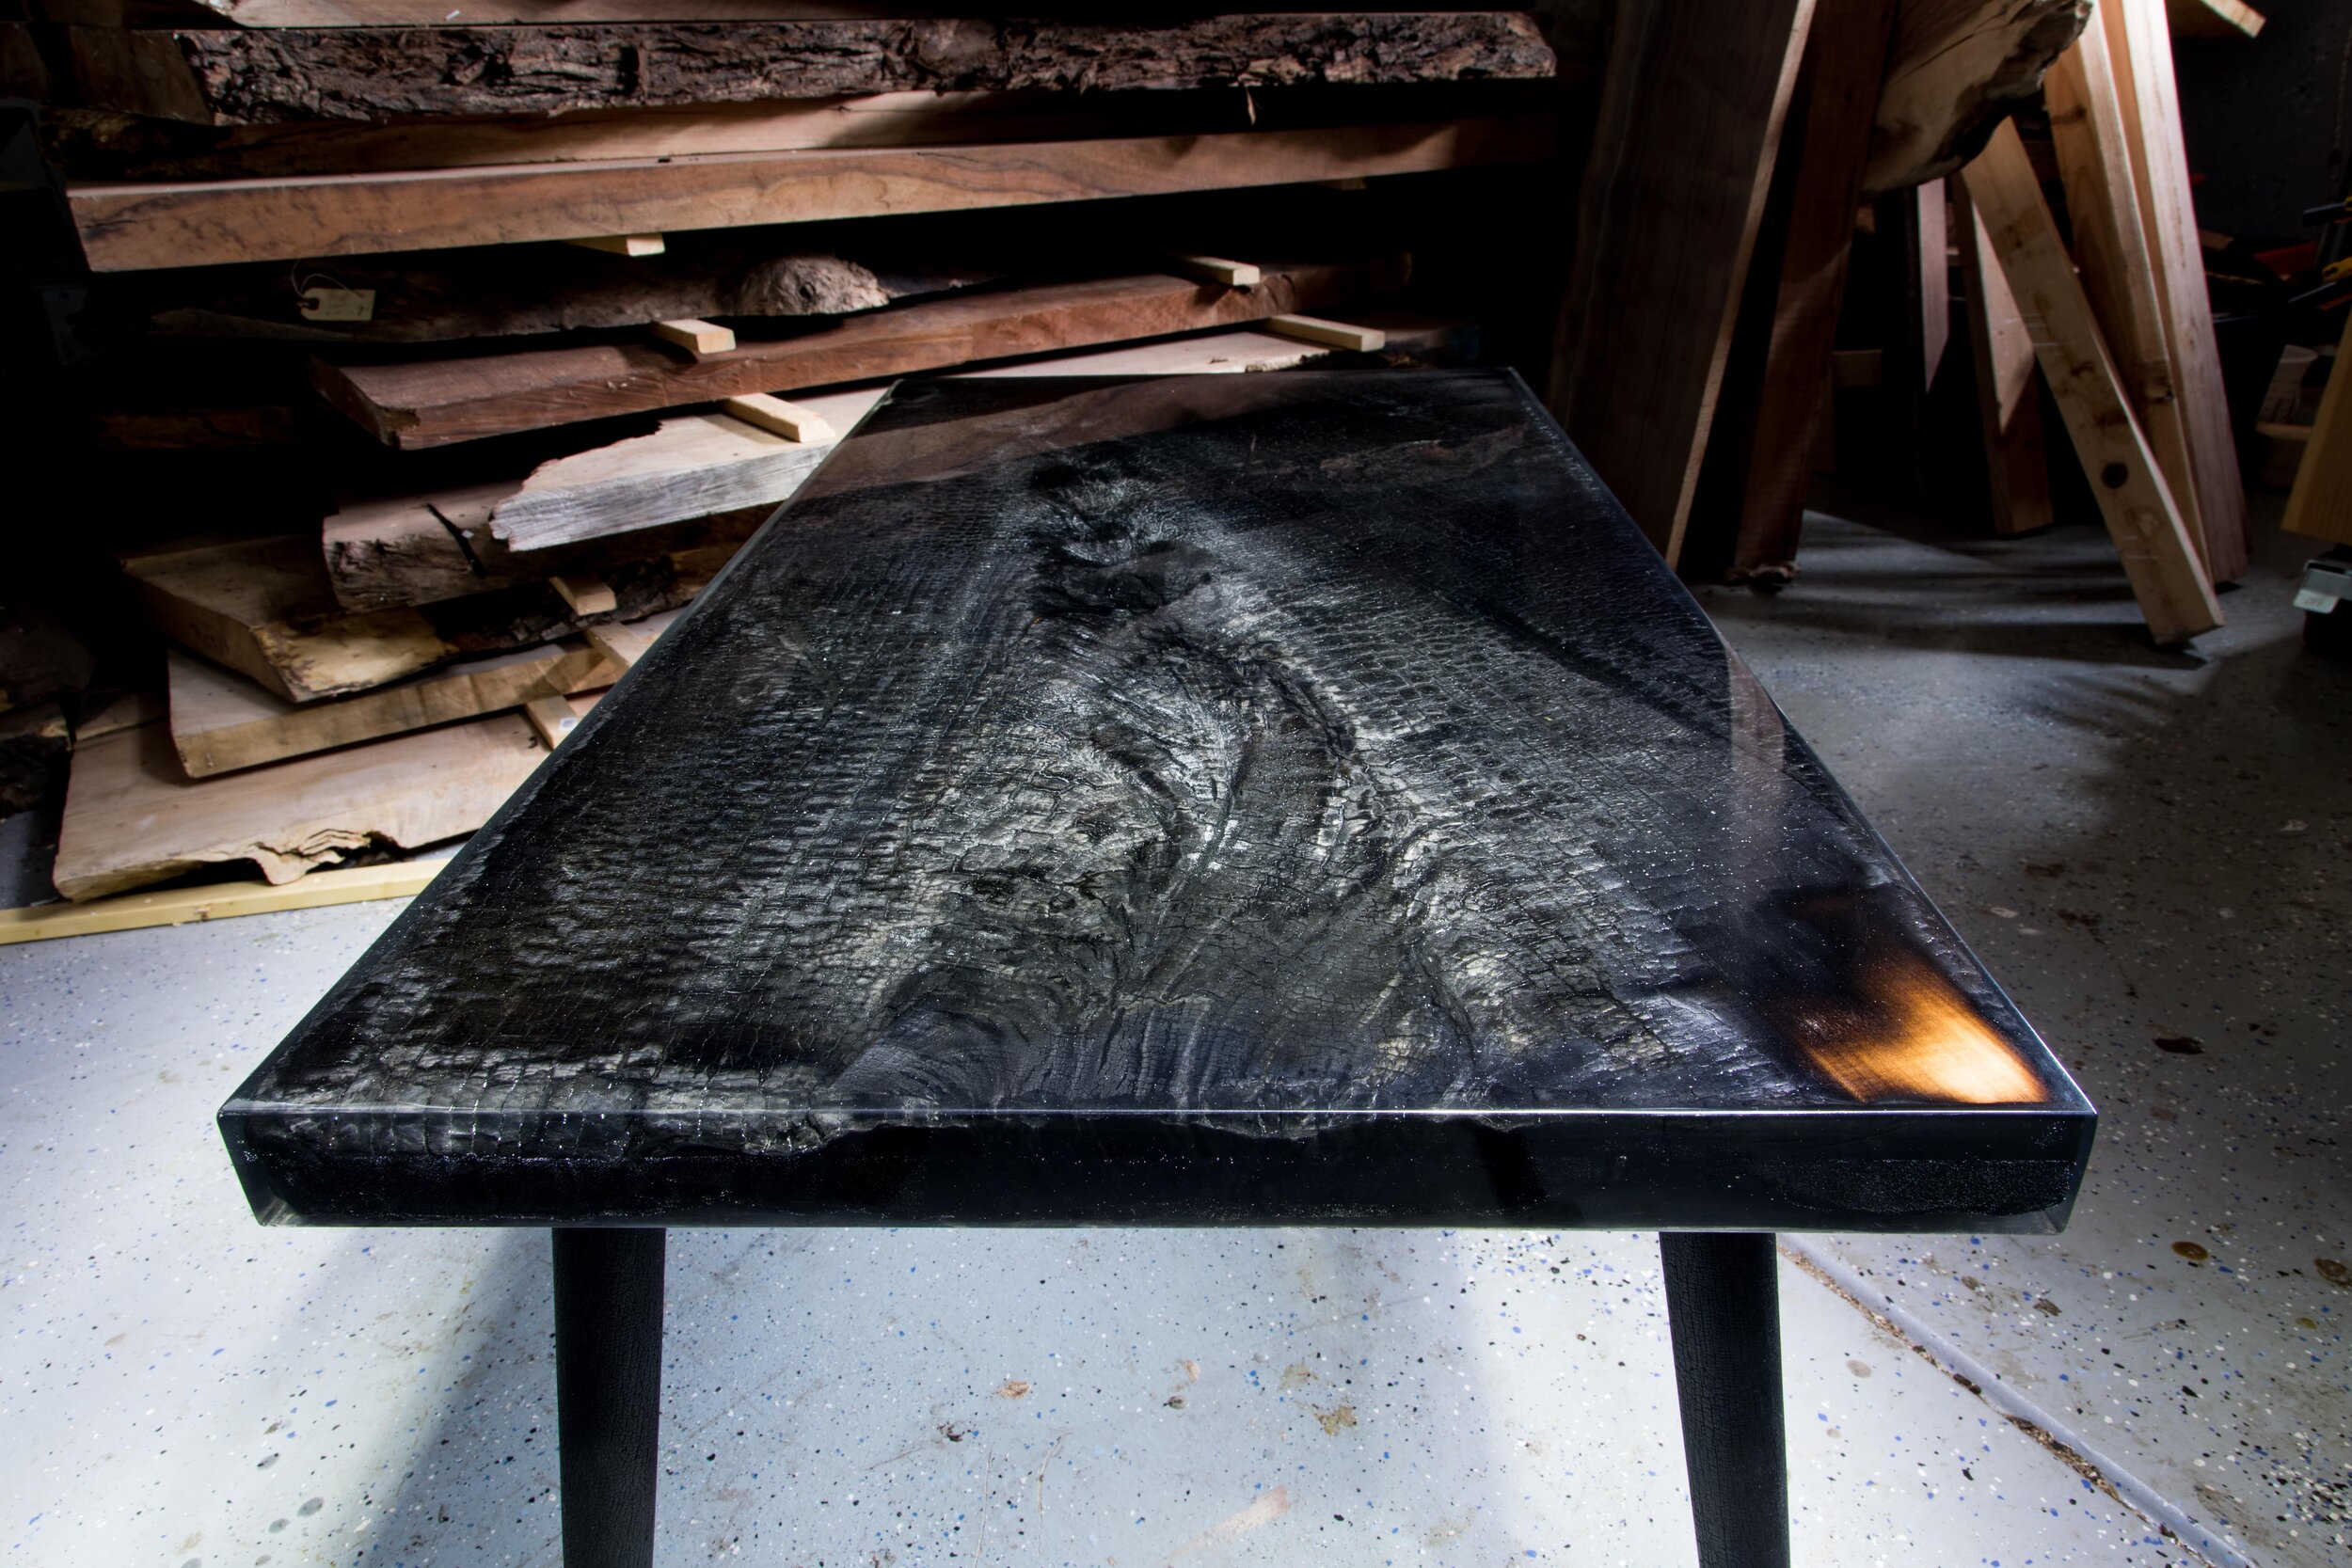
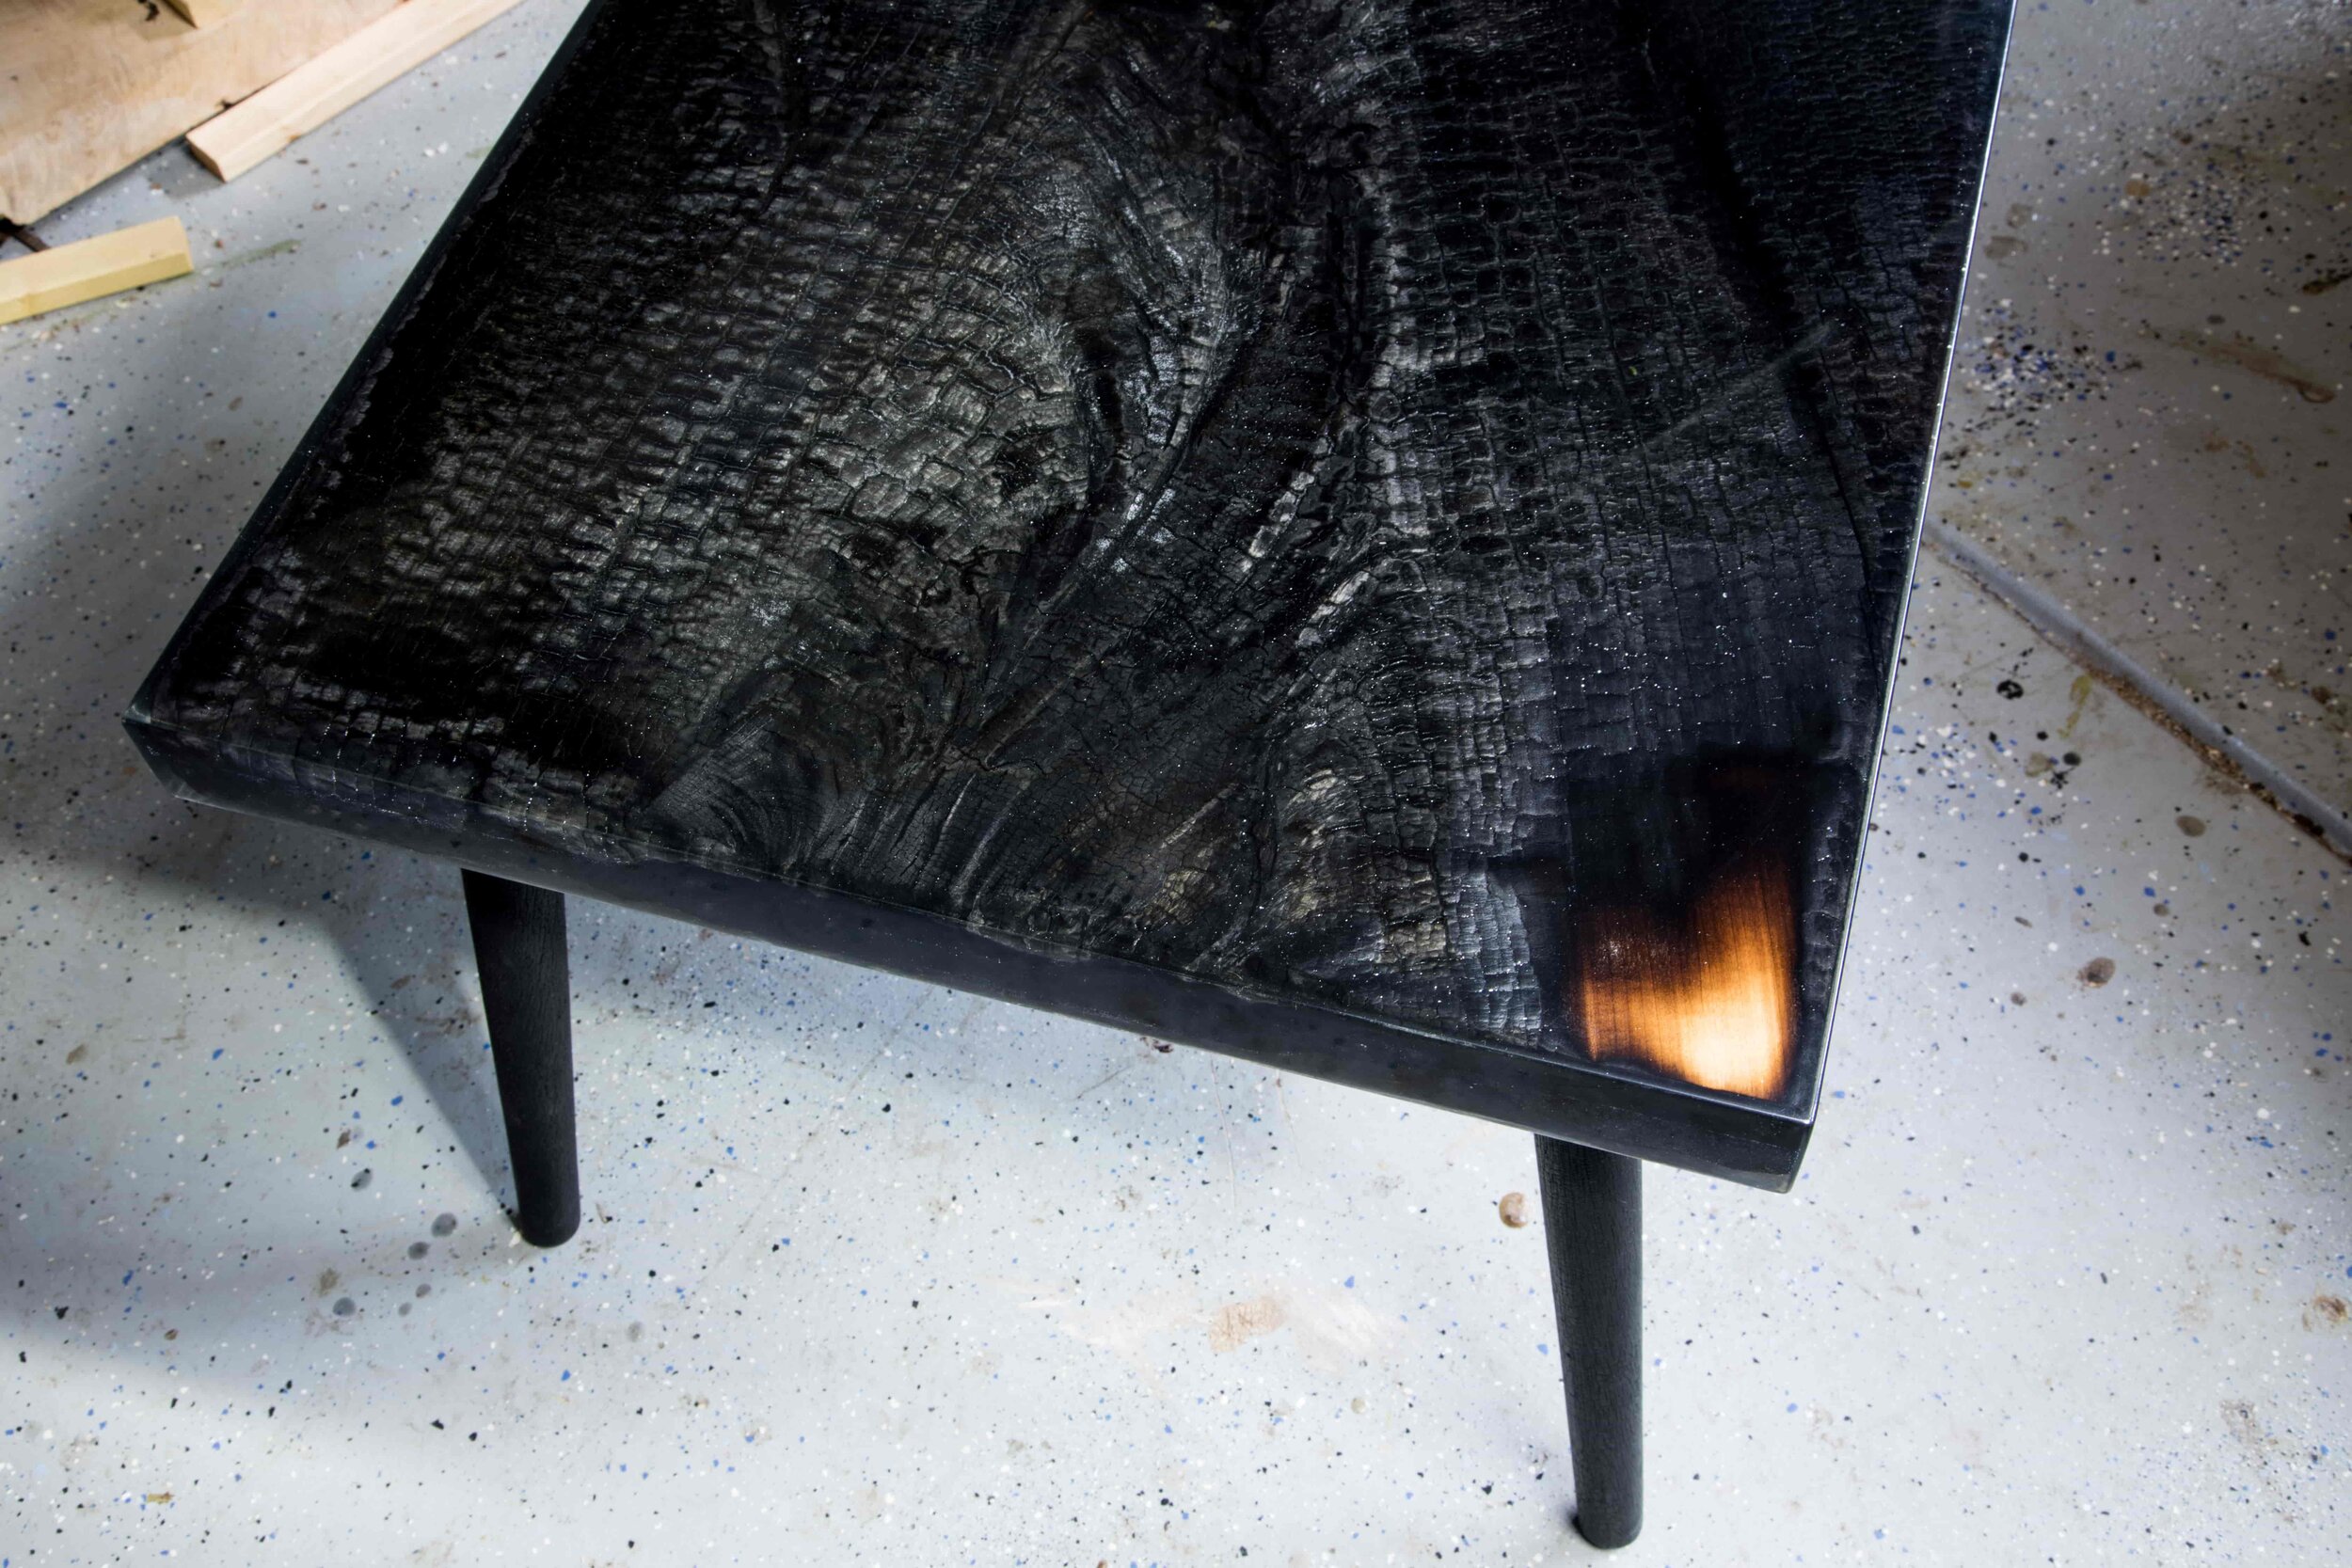
I wanted a deep “gator skin” char. So I burned it pretty aggressively. As you burn the wood it will cup up towards you. Then when you burn the other side it will pull that cup down mostly flat again. That is the idea anyway. So theoretically, if you burn each side the same amount, the slab will be flat in the end. Easier said than done. I burned both sides, then used a level to check how flat I had it. Then made adjustments as needed by burning more in certain areas to reverse too much cupping on the other side. This can take some practice, but most everything is reversible. In the end I had a deeply charred, moderately flat slab of wood.
The slab really didn’t want to catch fire. Which is good, we only wanted to char it. Not set it on fire. Nonetheless, I still doused it in water when I was finished to keep it from smoldering throughout the night. I recommend you do the same. Just make sure you let it dry sufficiently before moving on to the epoxy stage.
Make an epoxy mold
I made a mold out of 3/4” melamine, just like I do for any of my wood and epoxy tables. I you want a detailed outline of the process, feel free to check out my video or blog on the topic. I made my mold 1/2” longer and wider than my burnt slab. That way I could have 1/4” of epoxy all around the table when done.
Sealing with epoxy
Next I needed to seal the charred wood. For this I used some old deep pour epoxy I had laying around. If you want to buy some epoxy for this project I recommend using the Liquid Glass epoxy. It is a superior epoxy to what I used and I believe its even a little cheaper.
All you want to do is brush enough in to saturate the charred wood. Don’t pool it on top just yet. I made the mistake of pooling up some epoxy in a few low spots. This resulted in a ton of little micro bubbles. If you are wondering why we don’t just submerge the entire thing in epoxy before sealing it, this is why. Plain burnt wood under epoxy would have a sea of bubbles. If we can stabilize the wood with epoxy first, then we can submerge it all in epoxy with minimal bubbles.
Brush in epoxy until one side is totally saturated. Then flip the slab over and place it in your mold. Repeat the saturation process for the other (top) side while in the mold. Then let it cure for at least three days to a week before moving on to the next step.
Deep pour epoxy
Now that your slab is sealed with epoxy you can do your deep pour. Which is going to be what gives us the cool depth and 3D look. Again, I would use Liquid Glass epoxy for this step. The epoxy I actually used is very prone to yellowing and isn’t that hard when cured. I only used it because I had it left over from an old project.
Follow your manufacture’s instructions for mixing whichever epoxy you choose. Then pour over your slab. I recommend submerging the entire piece by about 1/4”. After pouring, I covered my mold to keep dust and debris out while it cured for the next three to four days.
Getting the slab flat after curing
There are lots of ways to get your table flat after it cures. Depending how how level your mold was you might even be able to hand sand it flat with a belt or orbital sander. I ran my table through a planer to get it flat though. Another way would be to use a CNC or diy router sled. For a little more detail on flattening a slab, check out my blog here.
Top coat/finishing
You will need to sand your charred epoxy cube to around 320 grit before moving on to the finishing stage. There are a few different methods you can go with here. I opted to use an epoxy top coat. I used a table top resin by Better Boat Epoxy. It was super clear, and super hard. Just what I want in an epoxy top coat. It is much different than a deep pour resin though. So let me offer a few tips I wish I would have known first.
First, warm up the epoxy in a water bath before mixing. Just set each container in a shop sink full of warm water. This will lower the viscosity of the epoxy and allow it to self level more easily. Second, warm up your table if possible. I set my piece in the sun, but covered in a trash bag to prevent UV discoloration. This aids in warming the epoxy when it comes in contact with the table and assists in the self leveling.
The table top epoxy is much more subject to micro bubbles. So definitely keep your torch handy to pop any bubbles after spreading the epoxy. Speaking of spreading, I recommend using a notched epoxy spreader like this one.
You could also opt to finish your table with a poly or a varnish. I don’t love these options because they don’t build a very thick finish, and generally have a yellow hue to them. They are much easier to use, and more readily available though. Worst case scenario, they are relatively easy to remove with sanding. So you could always try a poly and sand it off if you don’t like the look.
Wet sanding and buffing
Because I work in dust bowl, no matter how hard I try, my epoxy top coats always have little dust nibs that remain after drying. So I went a step further and wet sanded with 800-1200 grit. Then buffed out the wet sanding scratches with the 3M Perfect It compounds and my automotive buffer. You might be able to avoid this step by doing your top coat in a very clean room. My wife has banned me from our den, which used to be my clean room.
That’s it! what ideas can you come up with for this technique?
I have gotten a lot of feedback with great ideas for this charred wood and epoxy. I’ve heard of electric guitar bodies, tiles for a backspash, live edge wall art, and many other ideas. I didn’t create this concept, so no need to ask my permission to replicate it yourself! Even if I did come up with it you don’t need to ask permission to replicate anything I’ve done or will do. Comment with your ideas, or tag me on social media with what you come up with!
I didn’t mention the bright spot of non-burned wood you can see in the pics below. That spot was actually a mistake that came during planing. I didn’t have enough epoxy over that spot so it removed the char and exposed raw wood. I was disappointed at first, but I actually love the contrast now. If I make another table I might try to highlight larger areas like that intentionally. However you might think it just looks like a mistake. And you aren’t wrong.