Burning Free Wood
Intro
What started as a visit to Goby walnut to inquire about using their kiln to dry a seven foot wooly mammoth tusk that will be a part of an upcoming tusk restoration project; quickly turned into the beginning of a new project. When the good people at Goby Walnut offered up a slightly (very) damaged slab of Redwood, at a price that was too reasonable to pass up (entirely free) the idea to recreate a previous table arose.
The goal
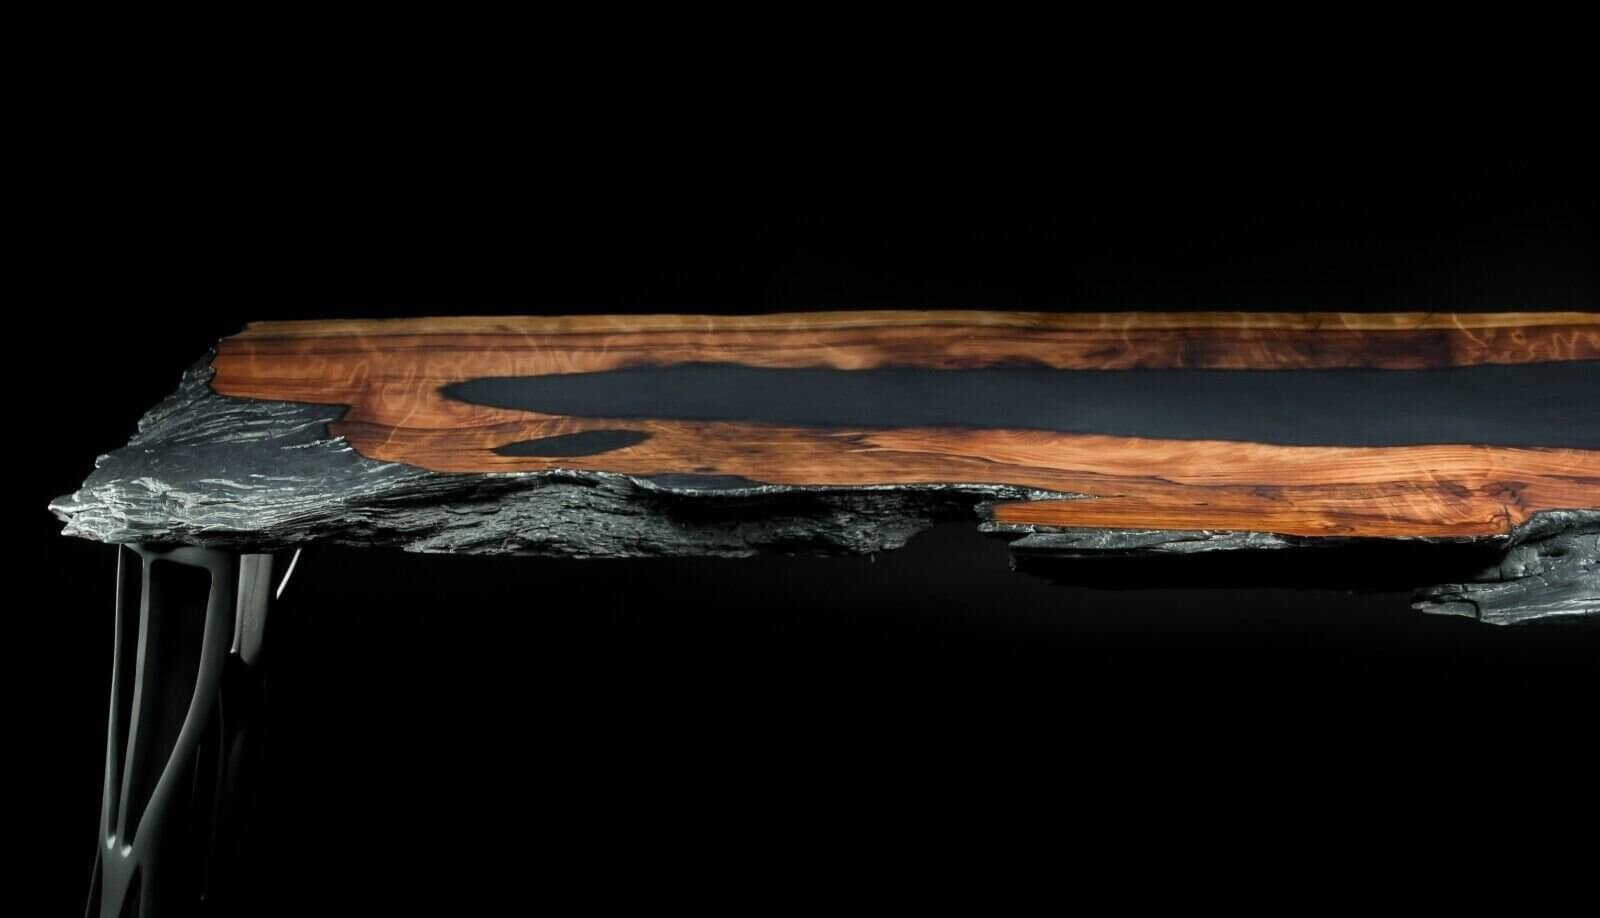
If you check out the original Fire + Epoxy table build, from 2020, you’ll understand the fascination with, well… burning wood stylistically, and sealing in its rich colour with epoxy. This unique table build boasts individual style, with a dark gothic flair. The initial table, although quite unique, was a bit small and didn’t look entirely intentional. The goal with this project was to recreate the integral components of the small, burnt epoxy coffee table, but to do so on a much larger scale, with some more finesse, while working with two things that are symbiotically difficult: redwood and burnt wood
Process
After choosing the better half of of the redwood slab, Goby Walnut’s specialists planed andthe wood’s surface with their wide belt sander. With the wood at home, it was time to make a rough chalk outline for the table.
Replicating a happy accident
After executing suspect artistic ability to create an outline, the decision was made to attempt to replicate a visually appealing accident from the initial burnt maple table build. When surfacing the first table, one of the corners was sanded down more than the rest and the resulting “mistake” ended up being the most interesting part. Like a signature, the light tonality of the bright maple amongst a sea of burnt black, makes for a very welcome highlight, in an otherwise monotone piece. To try to recreate this very same accident, a varying degree of Kutzall discs were used on a Milwaukee angle grinder on portions of the wood’s surface.
Design concept
The idea with the angle grinder and the shaping discs was to create an intentionally uneven surface; one that would allow a certain center portion of the wood to uphold a charred look, while the rest of the redwood kept it’s colour. The intended effect allowed the charred wood to flow into a rich border of soft red grain, creating an artistic mixture of light, dark, and natural wood texture.

Tool aficionados beware: new release!
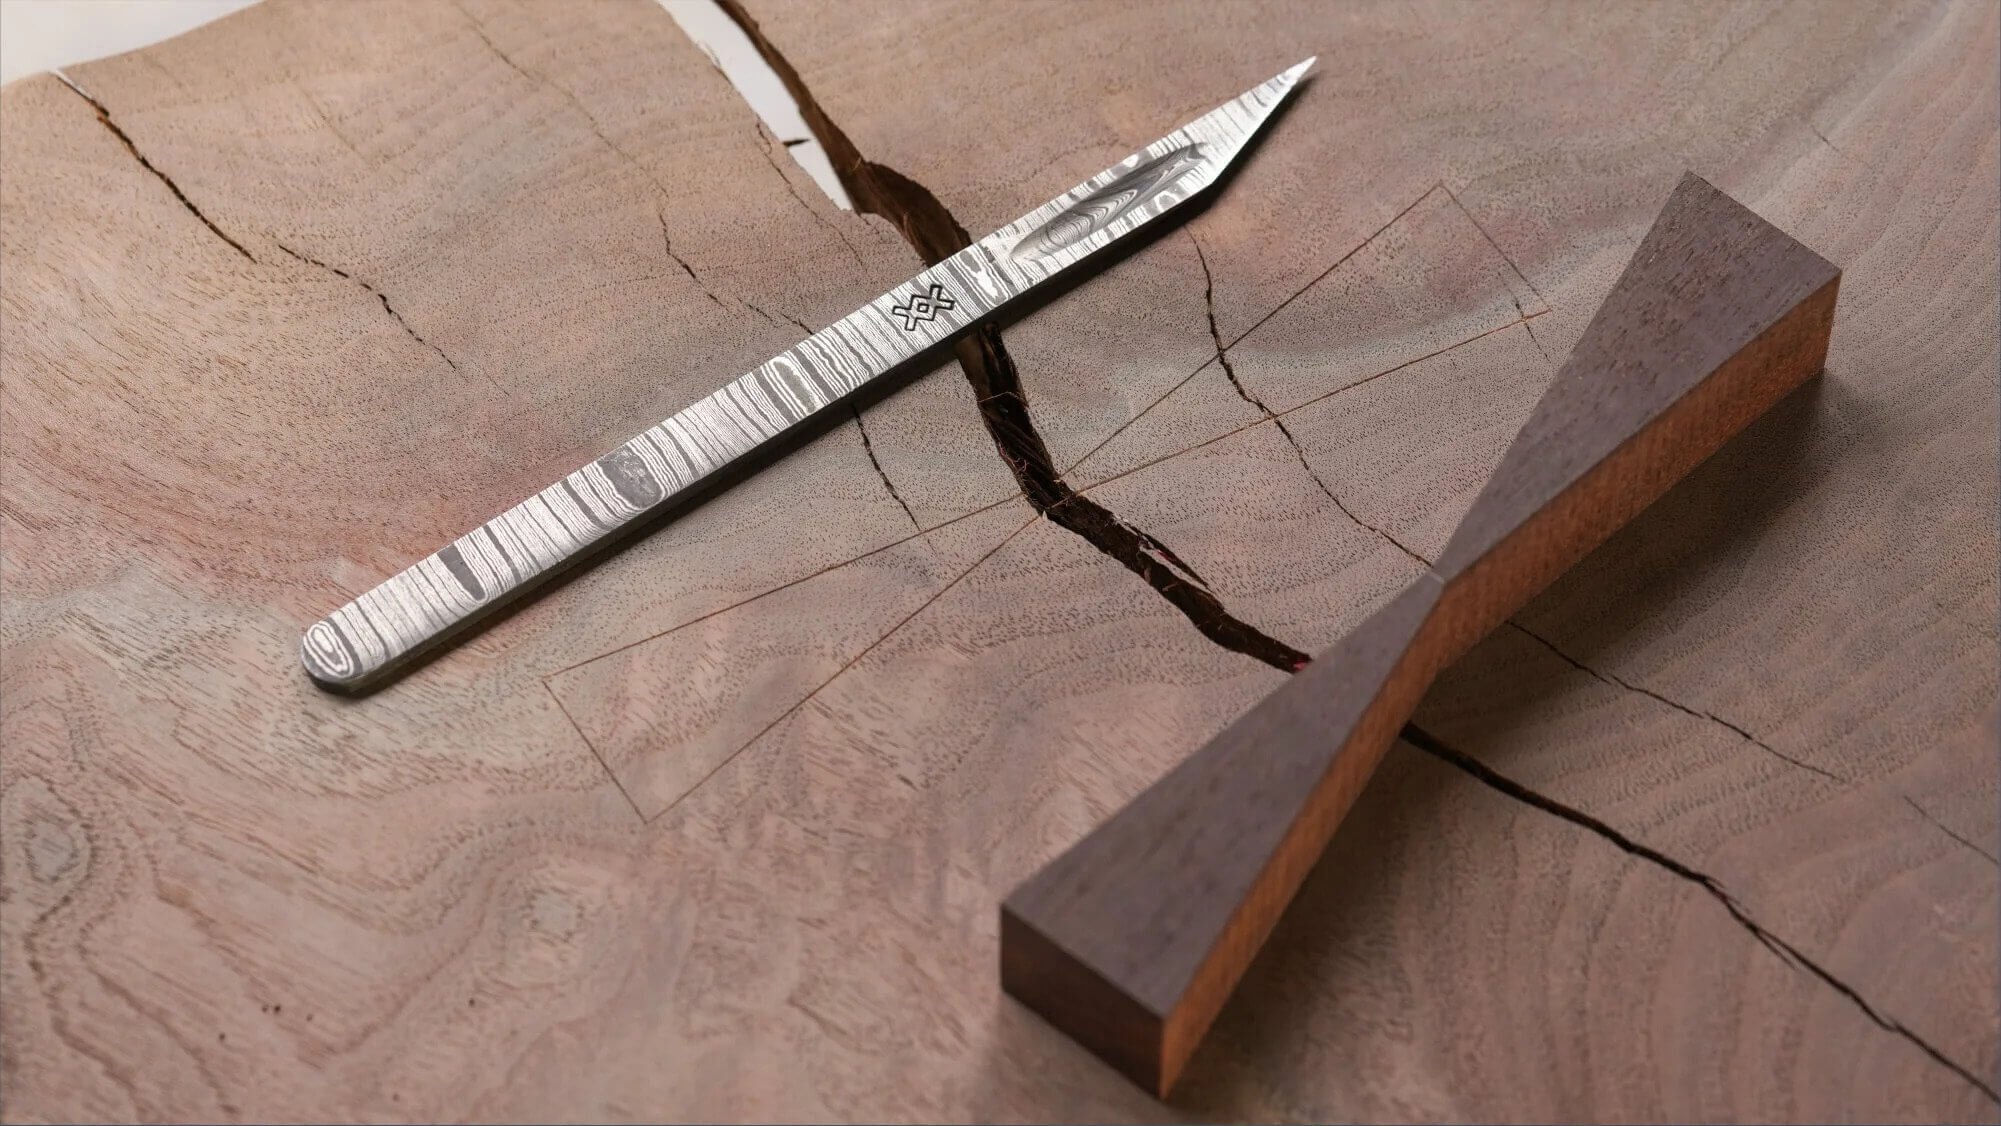
Something every woodworker needs is a solid marking tool, which is why we’ve created a high quality marking knife. This simple, but effective hand-forged, high-end Damascus steel, marking knife is vital for making precise cut-lines for your woodworking projects. Also, the line is draws is infinitely more precise than a pencil and the edge is infinitely more durable than an exacto knife. The first limited run of these knives sold quickly, so we’re releasing another round. Check out these beautiful tools, and sign up for the pre-order here.
Controversial campfire
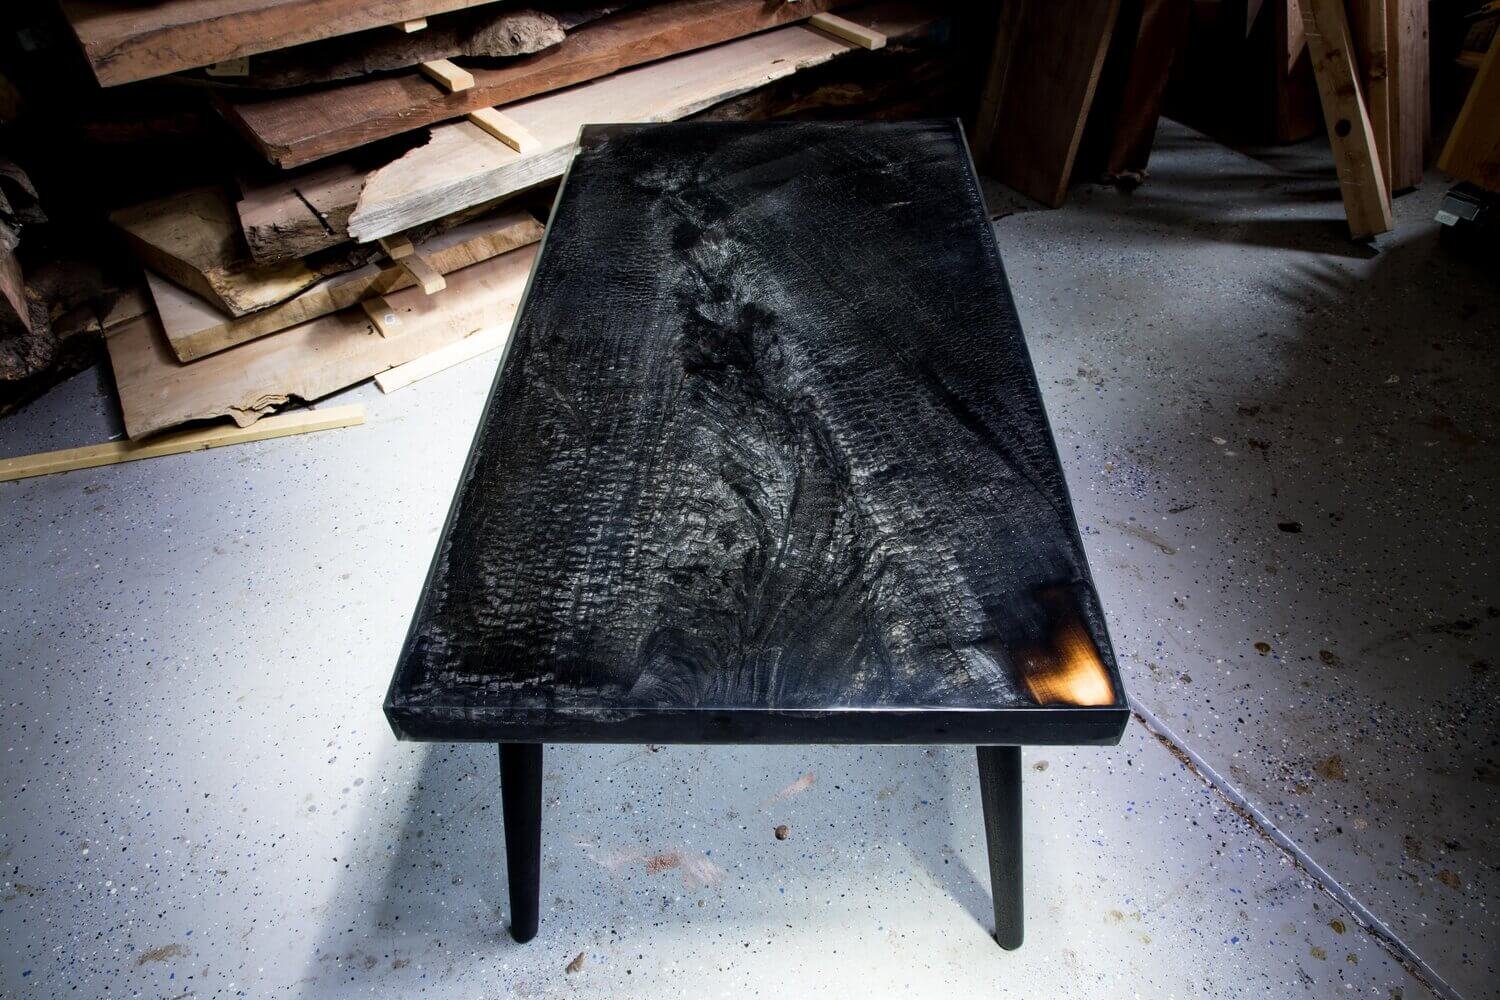
Burning wood within any proximity of your shop can be extremely dangerous, but due to the nature of this project; there was really no way to get around taking a flamethrower to the slab of redwood. That said, all of the precautions that can and should be taken were, in order to reduce the risk of injury and the loss of a shop. During the burning process the redwood seemed to hold its shape quite well, the operative word being “seemed”.
Cracking the first seal
The initial round of penetrating epoxy made very clear just how dried out the wood was. While using a thin mixture of epoxy; the wood continued so soak up baffling amounts. After allowing it to sit for about eighteen hours the epoxy seemed to have hardened the soft sections of wood and had created a healthy seal throughout the wood.
First hiccup
While applying the penetrative epoxy, certain small pools allowed tiny bubbles to form throughout sections of the table’s top. In an attempt to remove these bubbles a fine hard brush, attached to a drill bit was used to essentially buff-out the tiny imperfections. Once the bubbles were removed, the scuffs that remained were equally unappealing. To cover these scuff marks a frame was quickly constructed to contain a new layer of epoxy.

Sprung leak
Due to the nature of the wood’s rot, once epoxy had been poured multiple leaks began springing up and pouring out through bottom of the table. In what can only be described as a race to save the epoxy; flex paste was used liberally to successfully manage all of the leaks. After a couple more weeks of drying, the epoxy had set successfully.
Shaping the table
With the epoxy applied to the table; Creative Woodworking NW was able to surface it. At this point the accented wood, with the darkened centre strip, was starting to look really great. The wood was cut down to a rough size of 92 inches: an optimal size for shipping.

Animal hardware
Thanks to the certain brand of honesty that only a true friend like Scott can offer up, the decision to change the layout of the hardware was made. Why? To mitigate the fact that the table did, in fact, resemble a far-too relaxed hog sunbathing on its back.

Spray crossfit
Inside of a collection of high quality sheets, sporting a full body suit: it was time to discover what DIY spraying was all about. To see the entire DIY spray process, complete with ultimate patience, the frustration of micro debris, and a triumphant success: watch here. Many coats of spray later: the table was looking fantastic.
An almost disaster
In a final stage of buffing, some soap and water being used to remove the buffing compound reacted very poorly with the table. The result was an entirely orange peeled table top, increasing the potential for a lot more work. Luckily…very luckily; the water damage ended up subsiding after an overnight rest. Next, some N3 nano coat was used for extra protection.
*Note, I believe the problem with the soap and water was not letting the water based finish cure long enough before exposure. A mistake I wont make again.
Custom limited-run table legs
The table legs used in this build are a part of a custom run of aluminum hardware created roughly twenty years ago. Check out these quality built, New-Zealand crafted steel legs here while they’re still available.
Reveal
This kind of project, like any artistic endeavour, is completely subjective, and as satisfying as it was to complete this table, we are always curious to hear what you think. Please share your comments with us to let us know if you like this design, if you think it’s something you’d like to see more of, or if you just are not a fan. For the entire video, and to see all of the intricacies and frustrations involved in this kind of project,watch it here.